
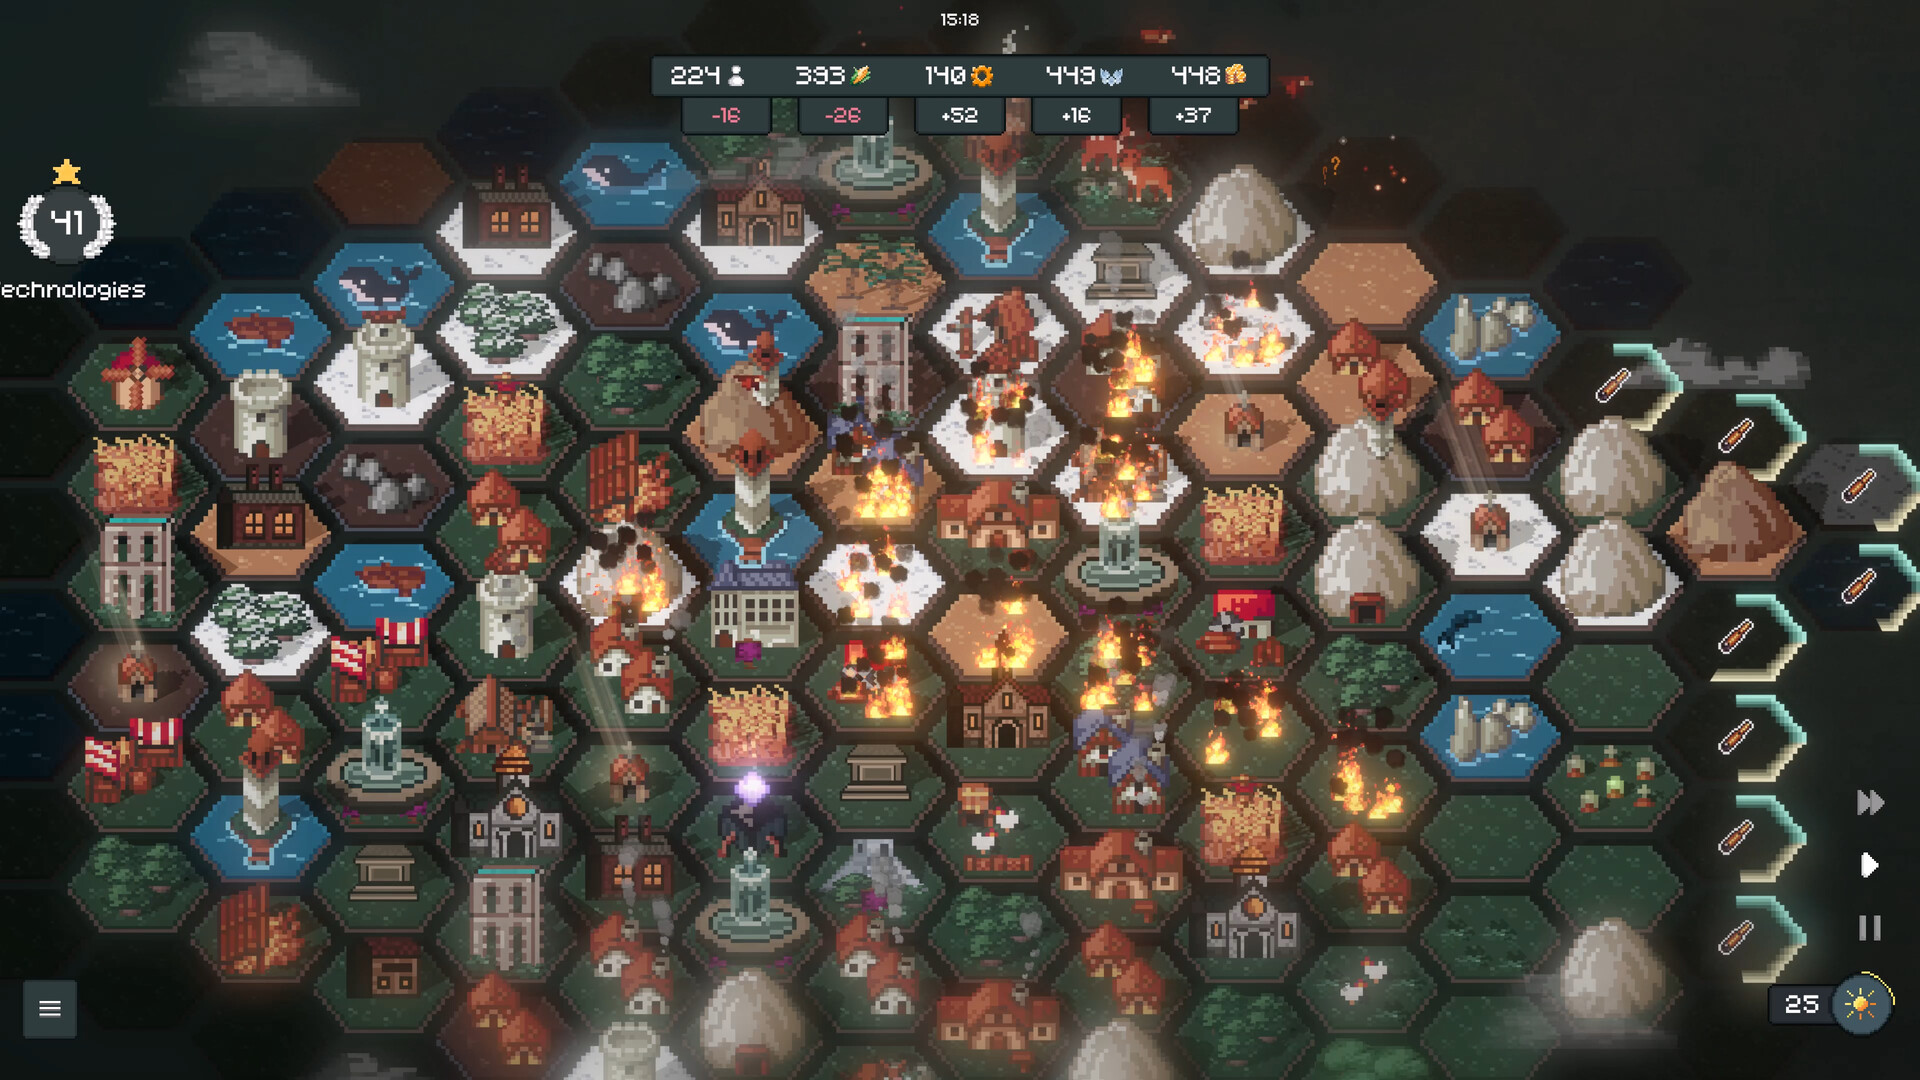
Read all four resources together
A decision that helps one resource can still leave the settlement short of another. Before building, write down the resource you need, the cost of your chosen action, and the result shown in the game. Compare those values with what you will have left. This simple habit is more useful than treating any one resource as the answer to every problem.
Separate a reserve from future output
A reserve is what is available now; production is what the settlement can provide over time. Do not spend an existing reserve as though future income has already arrived. The exact output of an individual building should come from its current in-game description. This page does not claim a universal yield table or an independently tested deposit formula.
Check placement before committing
Read the game’s placement information and any conditions attached to the building. Keep notes when comparing two locations: the same building, the same version, and one changed condition make a useful comparison. A general resource guide cannot establish a numerical adjacency bonus without that evidence.
Give the next demand a budget
Keep the next known requirement visible while deciding what to build. If several actions solve the same problem, compare their full resource cost and the remaining reserve. The suggested priority is the immediate bottleneck, followed by the next known demand, then optional expansion. It is a planning method rather than a guaranteed winning order.
What players ask
Is there a verified building-output matrix here?
No. The four resource names are officially documented, but exact building yields and adjacency values require version-specific verification.